Shan uses her iPad a lot, but a lot of the more serious (interior design) work needs to happen on AutoCAD or Photoshop. That is just not going to work on an iPad.
When we’re travelling (read: holiday) she’s carrying an old Lenovo ThinkPad 13 (great device!) just “in case” she needs to open AutoCAD and edit something minor or read the drawings/dimensions. But honestly, most of the time that device is turned off and dead weight.
But all the above is just an excuse to “I was bored, and I wanted to test something”: can I use an old Raspberry Pi (zero W) to remotely wake her Intel NUC, and then use Tailscale to use RD on her iPad? Well, yes I can.
I completed this using:
- Tailscale to remote desktop from anywhere to home
- Cloudflare Tunnels, Access and DNS to have a web interface to wake the desktop
- A Linux device that’s always on and in the same LAN, and that’ll run a PHP script.
Prep work: enable WOL
First off: enable Wake-on-LAN (WOL) in the BIOS and in your Windows settings. This article explains it for Intel NUCs, but would be similar enough for most devices. The Device Manager pane looked different on our i5 NUC, but was close enough.
On Mac, you just need to enable it in the Energy preference pane, for Linux I have no clue. 🤷♂️
Second step: have a working Raspberry Pi (or any Linux device) in the same LAN. This device needs to be turned on 24/7, so use something that uses very little power.
I do have a more powerful RPi4 I wish I could've reused (running Docker and some other "serious" stuff; however it's currently in a different VLAN, and it's quite crucial the Linux device is in the same LAN as the device(s) you want to wake up), so I went with an old Raspberry Pi Zero W that was collecting dust (it used to run pwnagotchi).
On the Linux device, install etherwake. The command to run is quite simply etherwake aa:bb:cc:11:22:33 (= the ethernet MAC address of your device).
If this doesn’t wake your desktop, something is wrong and there’s no point continuing. Go and troubleshoot.
Install Tailscale and RD
On the (Windows) desktop and your iPad, install Tailscale. Login, and make sure it works by pinging from one to the other.
Then set up Remote Desktop on both (Windows, iPad). You should test and make sure you can properly connect using the LAN IP address and then the Tailscale IP address.
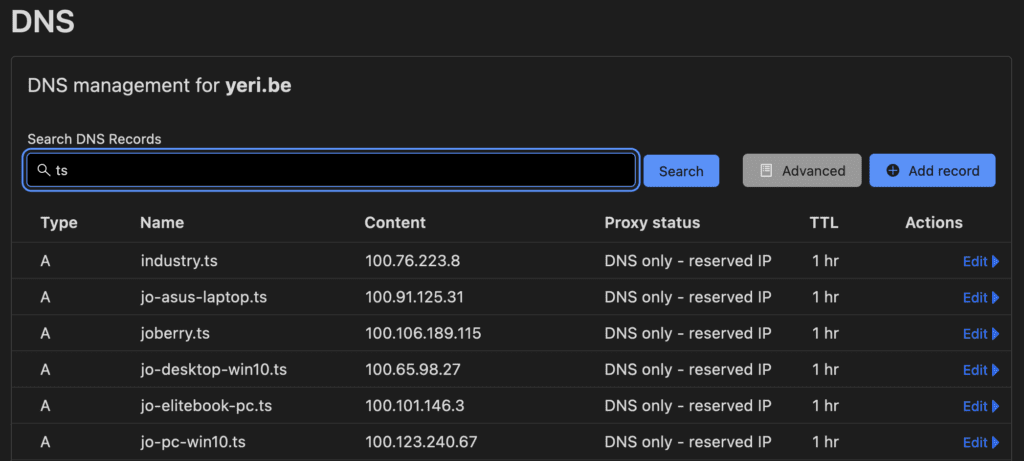
Fun fact: I create a DNS record for all my devices using Cloudflare DNS with the syntax of device-name.ts.yeri.be, so I don't need to ever remember IPs, and can easilysshorpingdevices without having to look up IPs.

A and AAAA records (not shown in the screenshot) Fun fact side track: I actually have a dynamic script that runs (on Linux) and createshostname.ts.yeri.befor the Tailscale IP,hostname.wg.yeri.bebased on the Wireguard IP,hostname.lan.yeri.bebased on the LAN IP. This dyndns script runs every so often and updates IPs if needed. All this is running using Cloudflare DNS and their API. Super convenient.
Nginx, php and etherwake
I'm a 80s kid, so I'll use dirty PHP to run this script. I'm sure I'll go straight to hell for this, but yolo.
Install nginx and PHP (no need for MySQL and other stuff).
etherwake requires root to run (because it needs root access to create a weird magic ethernet packet). Create a file in /etc/sudoers.d/etherwake and add this line:
www-data ALL=(ALL) NOPASSWD: /usr/sbin/etherwakeThis will allow www-data (nginx/php) to run /usr/sbin/etherwake using sudo, without password.
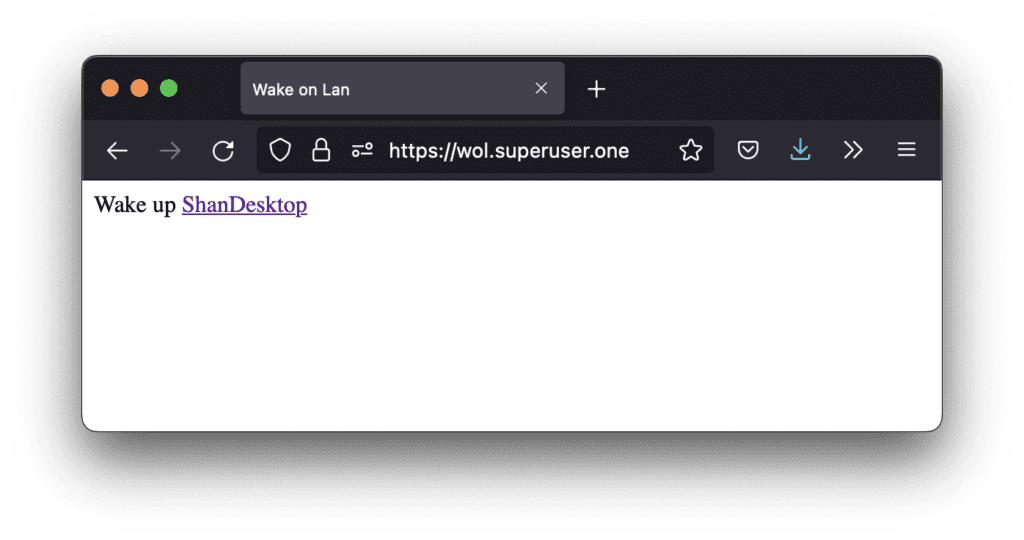
In /var/www/html/ create an index.php file with:
<html>
<head><title>Wake on Lan</title></head>
<body>
<p>Wake up <a href="mycooldesktop.php">My Cool Desktop</a>
</body>
</html>
And a mycooldesktop.php (or whatever) file with:
<?php
$output = shell_exec('sudo /usr/sbin/etherwake aa:bb:cc:11:22:33 2>&1');
echo "<pre>$output</pre>";
?>
<p><a href="..">Back</a></p>
It ain't pretty -- but it gets the job done.
And be sure to edit the MAC address to match your desktop’s ethernet MAC address.
Cloudflare tunnels
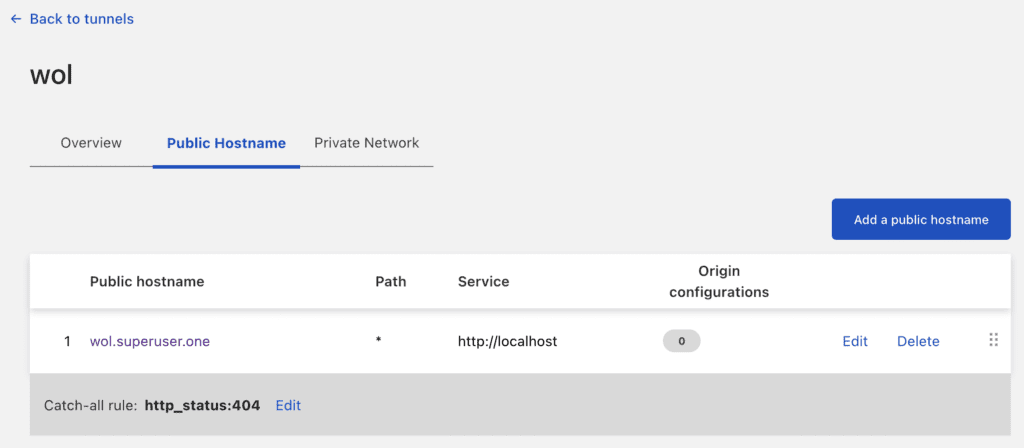
Install Cloudflare Tunnel (via Zero Trust dashboard).
When creating a new tunnel, the dashboard will give you all needed commands to install the tunnel on your RPi — but be sure to select the right OS/architecture (arm64? arm? armhf?).

And then point the tunnel to http://localhost. No need to mess around with SSL certs.
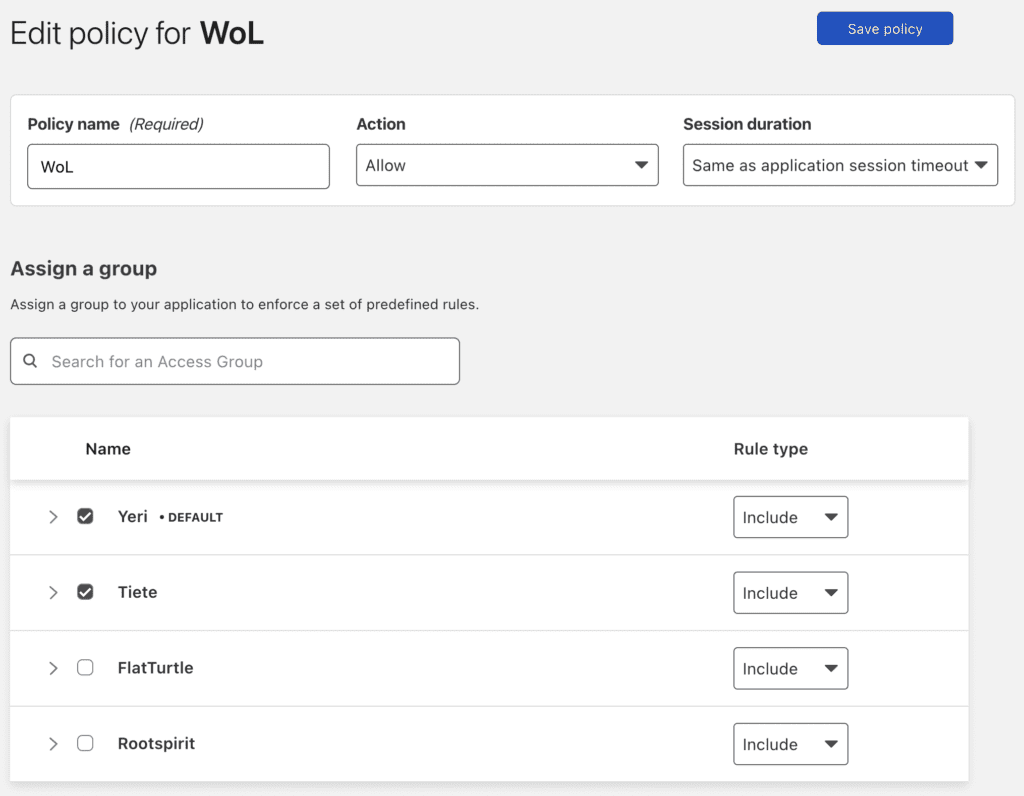
Lastly, set up Cloudflare Access (via the same Zero Trust dashboard): create a new application, and make sure only approved users can sign in (i.e.: using a pin code emailed to only approved emails).

You can try it yourself via wol.superuser.one. You won’t get in. 🙂
Optionally, but recommended: lock down Nginx to only allow connections from localhost (127.0.0.0/8and::1) if using Cloudflare Tunnels, or Cloudflare IPs if using port forwarding with Cloudflare Access in front.

etherwake.To recap
- We used Tailscale to create a VPN network between the desktop and the iPad. The big benefit is that Tailscale works effortlessly across NAT networks without having to open ports,
- We used Cloudflare DNS so we don’t need to remember hostnames :),
- We used Cloudflare Tunnels to make sure the RPi web interface is accessible across NAT (without port forwarding) and from anywhere,
- We used Cloudflare Acces and locked down access to the right people using ACLs,
- We used
etherwakerunning on a RPi to wake up devices that are hibernating or turned off.
And that’s it really.
PS: technically WoL works with WiFi, but when I enabled WoL on the WiFi adapter, the NUC refused to hibernate/sleep for more than a minute, and kept waking itself up. So, there seems to be some kind of trigger in my network that keeps waking it up. Also, not sure if WoL via WiFi would work if the device is turned off (as opposed to sleep or hibernate). I just ended up using ethernet.

PPS: both Cloudflare Tunnels and Tailscale use Wireguard tech in the background, so that's really cool.

Leave a Reply…